How to measure your screen panels before a repair
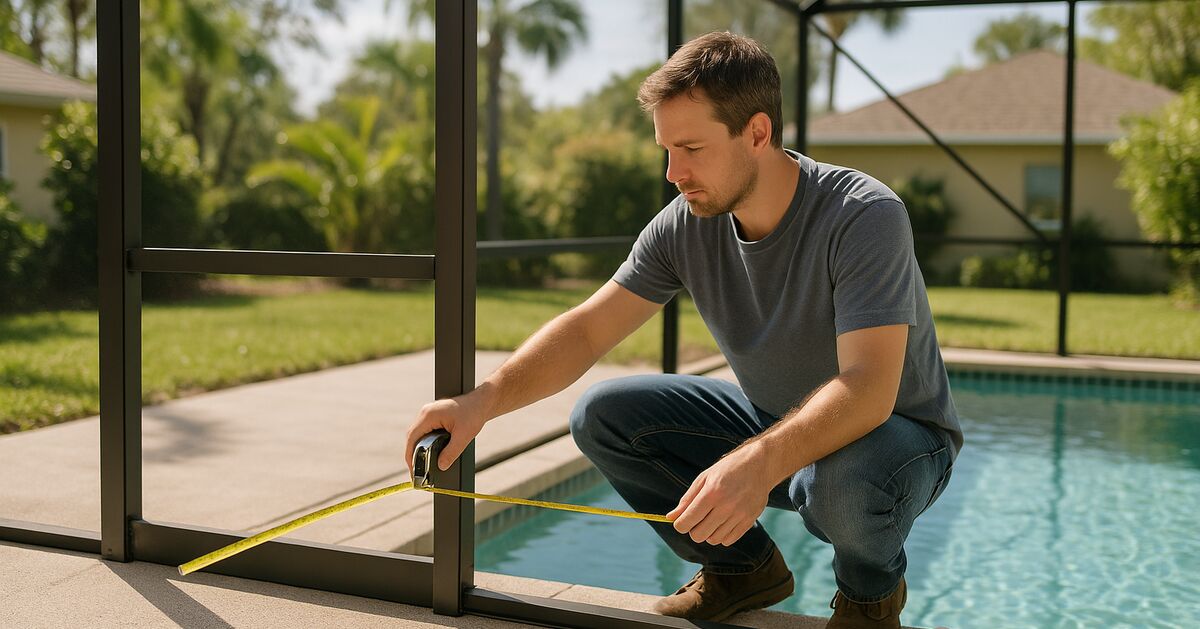
Buying the wrong size screen roll or cutting a panel two inches short is an expensive lesson that plenty of Florida homeowners have already paid for - so let's make sure you're not next. Whether you're prepping for a DIY patch job or gathering information before calling a pro, knowing how to measure your screen panels correctly is the single most important step in the whole process.
This guide covers every common panel situation you'll run into on a Suncoast lanai or pool cage: flat rectangular panels, angled roof panels, door screens, and the tricky corner sections. We'll also explain why each measurement matters, because understanding the logic helps you catch mistakes before they cost you.
Why measurements go wrong more often than you'd think
Screen panels look simple from the outside. It's just a rectangle of mesh held in a frame by a rubber spline, right? In practice, several things conspire to make measuring harder than it looks.
- The frame opening is not the same as the panel size. The screen itself sits inside the frame channel, so the mesh needs to overlap the channel on all four sides to give the spline something to grip. If you measure only the visible opening, you'll cut short.
- Florida frames are rarely perfectly square. Heat cycles, minor settling, and past storm stress can leave a frame slightly out of square. Measuring only one dimension and assuming the opposite side matches is a common mistake.
- Roof panels introduce slope and curve. A pool cage roof panel looks rectangular from below, but if the frame bows even slightly or the roof has a pitch, a flat measurement taken with a tape measure may underestimate the true span.
- Screen rolls come in standard widths. If your panel is even a quarter-inch wider than the roll you bought, you're stuck.
Taking five extra minutes to measure carefully - and double-checking before you cut anything - prevents most of the frustration homeowners run into. For a deeper look at how all the frame parts work together, see our post on the anatomy of a pool cage: frame, screen, spline and hardware.
Tools you need before you start
You don't need anything exotic. Gather these before you go outside:
- A metal tape measure (cloth tapes can stretch, which is the last thing you need)
- A notepad and pencil - write everything down immediately, don't trust your memory
- A straightedge or level for checking squareness on larger panels
- A helper if you're measuring roof panels or anything wider than four feet
Optional but useful: a roll of blue painter's tape to mark measurements directly on the frame, and a phone camera to photograph each panel with the tape measure in the shot.
Step 1: Measure the frame opening, not the frame itself
Stand in front of the damaged panel and find the inner edge of the spline channel - the small groove that runs around the inside perimeter of the frame. This channel is where the spline and screen will be seated.
Measure the width from the inner edge of the left channel to the inner edge of the right channel. Then measure the height from the inner edge of the top channel to the inner edge of the bottom channel. Write both numbers down.
Now here's the critical part: add your overlap allowance. Most standard spline channels are about 3/8 inch to 1/2 inch wide. For a secure fit, your screen should extend past the inner edge and reach into the channel on all four sides. A common rule of thumb is to add 1 inch to both the width and the height (that's half an inch of overlap per side). This gives the spline enough material to grip without the screen bunching up.
Your cut size = opening width + 1 inch, and opening height + 1 inch.
If the existing screen is still partially in place, you can also measure the old panel directly after removing it. Lay it flat and measure edge to edge. This is often faster and more reliable than calculating from the channel, as long as the old screen wasn't already cut wrong.
Step 2: Measure in at least two places per dimension
Because Florida frames aren't always perfectly square, measure the width at the top, in the middle, and at the bottom. Measure the height on the left side, in the middle, and on the right side.
Use the largest measurement you find as your working dimension. If the top is 36.25 inches wide and the bottom is 36.5 inches wide, cut to 36.5 plus your overlap. You can always trim a small amount of excess; you can't add material back once it's cut short.
If the difference between your measurements is more than 1/4 inch in either direction, note it. A frame that's significantly out of square may need more than a screen replacement - it may need structural attention too. Our screen and pool-cage repair services include frame straightening in cases where that's needed.
Step 3: Account for roof panels and angled sections
Pool cage roofs in Bradenton, Lakewood Ranch, and across the Suncoast typically have one of two configurations: a flat horizontal plane (common on older screen rooms) or an angled slope that peaks at a ridge beam. Angled panels require a little extra care.
For sloped roof panels, measure the actual surface span, not the horizontal projection. In other words, lay your tape measure along the slope of the panel from frame edge to frame edge, following the surface. If you measure only the horizontal distance from directly below, you'll underestimate the length.
For hip-style panels (the triangular sections at the corners of many pool cages), use the same principle: measure all three sides of the triangle - base, left side, and right side. Sketch it out and label each measurement. When you cut screen for a triangle, you'll cut a rectangle slightly larger than the longest dimensions, then trim after the screen is rolled in on two straight sides.
For unusually shaped panels, a paper or cardboard template often beats a tape measure. Cut the template to fit the opening exactly (without the overlap allowance), then use it to mark your screen before cutting, adding the overlap on each edge as you go.
Step 4: Measure door screens differently
Screen doors are their own category. A door panel usually has a frame that opens and closes, and the screen is held in place by a spline running around the interior of the door frame - not the door opening in the enclosure wall.
To measure a door screen replacement:
- Remove the door from its hinges if possible, or prop it open securely.
- Measure the interior opening of the door frame itself, from inner channel edge to inner channel edge, in both directions.
- Add the standard 1-inch overlap allowance as above.
Pay attention to whether your door has a center cross-member or a pet flap cutout. Both complicate the measurement and the installation process. If your door is also sagging or dragging, a simple screen replacement won't fix that on its own - the frame hardware may need adjustment.
Step 5: Check your screen mesh width against your panel size
Screen rolls sold at hardware stores typically come in widths of 24, 36, 48, 60, 72, and 84 inches. Before you buy, confirm that the roll you're selecting is at least as wide as your largest panel dimension (before adding the overlap), because you cannot seam two pieces of screen together cleanly in a spline channel.
On a full pool cage re-screen, panels can run 72 inches or wider, especially on the roof. If you're in that territory, specialty screen suppliers carry wider rolls, but standard big-box stores may not. This is one reason professional re-screening crews carry commercial stock.
The mesh type also matters. Standard 18x14 fiberglass is fine for most lanai walls. For fine-mesh no-see-um screen, the weave is tighter and the roll behavior is slightly different - it's stiffer and wants to curl. Our post on keeping no-see-ums out of your screened lanai for good goes into detail on which mesh is appropriate for which situation.
If UV degradation has affected multiple panels, it's also worth reading about why screen looks grey and brittle from UV damage before you decide which replacement material to buy.
Step 6: Record everything in an organized way
This sounds obvious, but it makes a real difference. Instead of a list of numbers that are hard to match back to specific panels, sketch a rough diagram of your enclosure from above, label each panel by position (for example: south wall panel 1, south wall panel 2, roof center, roof west slope, north door), and write each panel's cut dimensions next to its label on the sketch.
If you're getting a professional quote, this diagram is genuinely useful to share. It saves the estimator measurement time and shows you've already done careful work, which sometimes speeds up scheduling.
For Suncoast homeowners in Parrish, Palmetto, Ellenton, and similar communities where pool cages tend to be larger and older, enclosures often have 20 or more individual panels. A written panel-by-panel record means you don't have to remeasure if the repair gets split into two visits or if one roll of screen turns out to be the wrong mesh.
Common mistakes and how to avoid them
- Measuring the outside of the frame instead of the channel opening. This gives you a number that's too large, and you'll end up with screen that bunches in the channel.
- Forgetting to add the overlap allowance. Cut to the opening size and the spline has nothing to grip on - the screen pops out the first time someone leans on it.
- Measuring only once. Always measure twice in each direction. The two minutes it takes pays for itself immediately.
- Rounding down instead of up. When in doubt, go bigger. You can trim; you can't add.
- Trusting the old screen's dimensions without checking. If the previous installer made a mistake or the frame has shifted since the last repair, you'll repeat the error.
- Not noting the mesh type before you measure. If you're replacing one panel in a larger enclosure, you need to match the existing mesh weave and color. Take a photo or bring a small sample to the supplier.
When to hand the measuring off to a professional
If you have more than six panels to replace, any roof panels over eight feet off the ground, angled sections you're not confident mapping, or a frame that's visibly bent or bowing, having a professional take the measurements as part of the repair quote is worth it. Measurement errors on a full cage re-screen can result in wasted rolls of specialty screen that aren't cheap.
Our team serves homeowners across the Suncoast, from Anna Maria Island to Sarasota and Siesta Key. If you're not sure whether your situation is a good DIY candidate, our frequently asked questions page covers a lot of the decision points, and you're always welcome to contact us for a free on-site look.
For a balanced take on when DIY makes sense and when it doesn't, we covered the tradeoffs honestly in our post on DIY screen repair vs. hiring a pro - worth a read before you commit either way.
Quick reference: measurement checklist
Before you buy any materials, run through this list:
- [ ] Measured width of each panel opening at top, middle, and bottom
- [ ] Measured height of each panel opening at left, middle, and right
- [ ] Used the largest measurement in each direction
- [ ] Added 1 inch to both width and height for spline overlap
- [ ] Confirmed roll width covers the widest panel with no seaming
- [ ] Noted mesh type and color for each panel
- [ ] Recorded all dimensions in a labeled diagram
- [ ] Photographed each panel with tape measure visible
- [ ] Checked frame for squareness and noted any deviations over 1/4 inch
That's the whole process. It takes longer to read about it than to actually do it on a calm morning before the Florida sun is fully up. Measure carefully, write it all down, and you'll go into your repair - DIY or professional - with everything you need to get it right the first time.