A screen-enclosure maintenance checklist for Suncoast homeowners
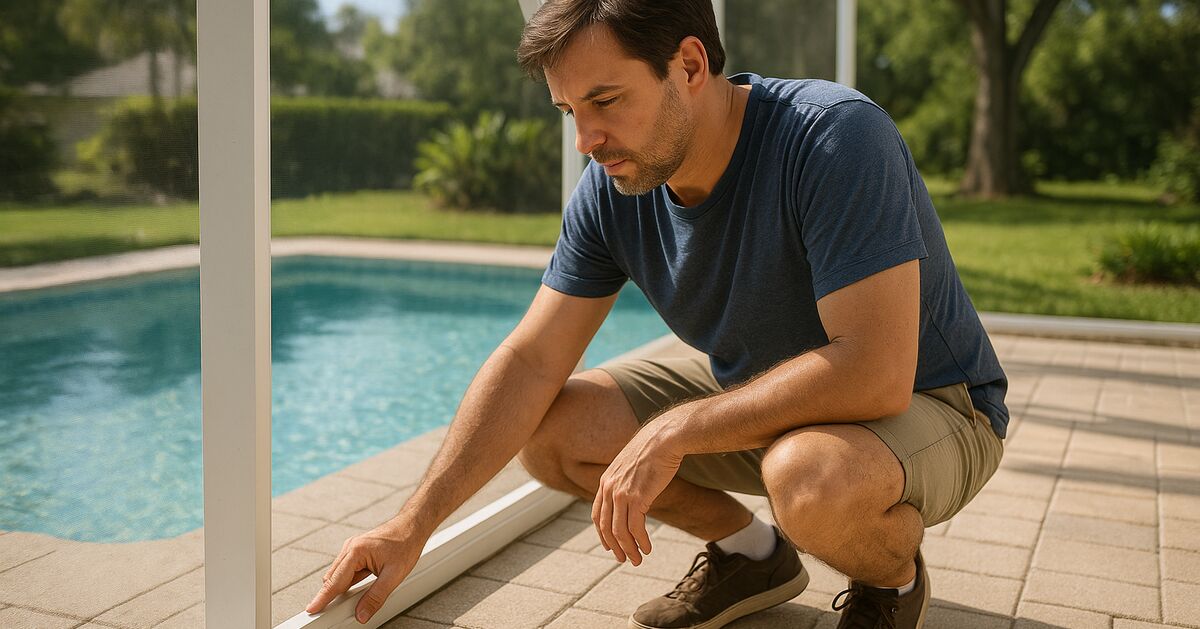
Regular maintenance is the single most effective thing you can do to extend the life of your screen enclosure - and it costs almost nothing but an hour of your time twice a year.
Florida's Gulf Coast climate is relentless. Between the salt air rolling in off the water near Anna Maria Island and Longboat Key, the afternoon thunderstorms that pound Bradenton and Parrish from June through September, and the UV index that stays punishing year-round, a screen enclosure ages faster here than almost anywhere else in the country. The good news is that the failure points are predictable. Run through this checklist in the spring before storm season begins, and again in the fall after it ends, and you will catch nearly every issue before it turns into a costly repair or full re-screen.
Why a routine checklist beats waiting for something to break
A small tear in one panel costs far less to fix than a panel that has been flapping in the wind for three months, stretching the spline channel and stressing the neighboring frame members. A door that sticks a little today can be a door that will not close at all by next summer, leaving a gap that lets in every mosquito and no-see-um within range. The math is simple: early intervention is cheap, deferred maintenance is expensive.
This checklist covers six areas: the frame, the screen mesh, the spline, the doors and hardware, the fasteners and feet, and the surrounding landscape. Work through them in order and take notes as you go. A note on the back of an envelope is fine. The point is to have something you can compare against six months from now.
1. The frame - look for rust, corrosion, and physical damage
The aluminum frame is the skeleton of your enclosure. Most frames are powder-coated aluminum, and that coating is what holds rust at bay. When the coating is breached, moisture gets in and the oxidation process starts.
What to look for:
- Orange or brown streaks running down a vertical member or pooling at a joint. These are the early signs of corrosion working from the inside out.
- Dents, bends, or kinks in any horizontal or vertical tube. A bent frame member under load is a frame member that may fail in the next windstorm.
- Loose or missing screws at the joints where two frame sections meet. Grab each joint and give it a firm push. There should be no movement.
- Cracks in the concrete footer or base rail anchors at ground level. This is where water pools and corrosion begins fastest.
- Any section where the powder coat is visibly chipped, flaking, or bubbled. That exposed metal needs to be addressed before the next rainy season.
Homeowners near the water on Siesta Key, Lido Key, or Anna Maria Island should pay extra attention here. Salt-laden air is invisible but relentless, and it attacks any exposed metal surface far faster than it does inland locations like Lakewood Ranch or Ellenton. If you find corrosion early, a small amount of aluminum-safe rust converter and touch-up paint can buy you significant additional life from the frame.
2. The screen mesh - tears, holes, and UV degradation
The screen itself is what most people notice first, but the signs of trouble are not always obvious to an untrained eye.
What to look for:
- Any tear, hole, or puncture larger than about a quarter-inch. At that size, mosquitoes and no-see-ums can enter, and the tear will grow under the stress of wind and pressure.
- Sagging or billowing sections where the mesh has gone loose. Properly tensioned screen should feel taut when you press on it gently with your palm. If it deflects more than an inch or two before bouncing back, the tension is gone. Our post on why properly tensioned screen matters more than you think explains exactly why slack mesh is not just cosmetic.
- A grey, chalky, or brittle look and feel to the fibers. This is UV degradation, and it means the mesh is near the end of its useful life. Screen that crumbles slightly when you pinch it between your fingers needs to be replaced, not repaired.
- Discoloration around the bottom panels, especially on the pool side. Constant splash and chemical exposure from pool water breaks down screen fibers from the lower edge up.
Pay attention to corner panels and any panel adjacent to a tree or large shrub. These catch the most debris and are the first to show damage. If you are choosing replacement material, choosing the right screen mesh for your Florida home will walk you through the options in plain language.
3. The spline - the unsung hero of your enclosure
Spline is the soft rubber cord that locks the screen mesh into the channel along the frame. It is invisible when everything is working, and it causes all sorts of headaches when it is not.
What to look for:
- Sections of screen that appear to be bulging out from the frame or pulling away from the edge. This usually means the spline has dried out, shrunk, or been dislodged.
- Any place where you can see the edge of the mesh screen sitting proud of the frame channel rather than sitting flush inside it.
- Cracked or brittle spline that breaks when you press it gently. Florida heat dries rubber out over time, and spline that has passed its service life will not hold screen tension reliably.
- Gaps in the spline at corners, where the cord was cut too short during installation or has shrunk back.
Spline issues are often misread as screen problems, but replacing the mesh without replacing the spline is a waste of money. A technician will always swap both at the same time for a lasting result.
4. Doors - operation, alignment, and seals
Screen doors take more abuse than any other part of an enclosure. They are opened and closed hundreds of times a year, and the hinges, latches, and closers wear accordingly.
What to look for:
- A door that drags on the ground, sticks in the frame, or requires lifting to close. This usually means the hinges have sagged or the frame has shifted slightly.
- A latch that does not catch cleanly, or that you need to slam the door to engage. A loose latch is an invitation for the door to blow open in a summer storm and put stress on the entire enclosure.
- A door closer (the spring mechanism at the top of the door) that is either too weak to pull the door shut or so stiff that it slams every time. Both extremes put unnecessary stress on the frame and hinges.
- Tears or holes in the door's screen panel, especially at pet-height and at the bottom sweep. These areas take the most mechanical abuse.
- A bottom sweep or door seal that is torn, missing, or no longer making contact with the threshold. Gaps here are the number-one entry point for insects at ground level.
Test every door on your enclosure by opening it fully and releasing it. It should swing closed smoothly and latch without any extra effort from you.
5. Fasteners, feet, and base connections
This is the part most homeowners skip, and it is the part that matters most in a storm.
What to look for:
- Screws and bolts at every frame joint, particularly at the base where the vertical uprights meet the concrete or the base rail. These should be tight. A screw that turns freely when you apply hand pressure is doing nothing.
- Rusted or corroded fasteners. A rusty screw can look solid and be structurally compromised. If it shows heavy surface rust, it should be replaced.
- The rubber or plastic feet at the bottom of vertical members. These prevent direct metal-to-concrete contact and slow corrosion significantly. Missing feet allow moisture to wick up into the tube.
- Any section of concrete footer that is cracked, heaved, or crumbling. The enclosure is only as solid as what it is anchored to.
- Caulking or sealant around the base rail where it meets the pool deck. Failed sealant allows water to infiltrate beneath the rail and accelerate corrosion from below.
This is a particularly important check for homeowners in Palmetto, Parrish, and Ellenton, where newer construction often means enclosures that were installed in the last decade but may have had fasteners installed in haste. Our screen and pool-cage repair services include a full structural inspection if you want a professional set of eyes on these connection points.
6. The surrounding landscape
Your enclosure does not exist in isolation. Everything growing or sitting near it affects its condition.
What to look for:
- Overhanging branches within striking distance of the roof panels. In a storm, even a small branch can punch through multiple panels and bend frame members. The closer the branch, the higher the risk.
- Vines or climbing plants in contact with the frame or screen. Vines hold moisture against the metal and accelerate corrosion. They also work their tendrils into screen weave and tear it as they grow.
- Leaves and organic debris sitting in the gutter channel at the top of the enclosure. This debris holds moisture, blocks drainage, and is one of the most common causes of premature frame corrosion at the roof-to-wall junction.
- Standing water around the base of the enclosure after rain. Poor drainage means the base rail and footer are sitting in water regularly, which shortens their life significantly.
- Lawn equipment patterns. Weed trimmers are responsible for a surprisingly large number of lower-panel tears and dents in base rails. A small stone border or edging strip around the perimeter keeps equipment away from the frame.
What to do with what you find
Once you have worked through the checklist, sort your findings into three buckets:
- Handle it now yourself. Tightening a visible loose screw, clearing debris from gutter channels, trimming a vine, or trimming a low branch are all things most homeowners can do safely in an afternoon.
- Schedule a professional repair. Any torn screen panel, spline that has failed, corroded frame section, or door alignment problem belongs here. These are not difficult repairs for a professional, but they do require the right tools and materials to be done correctly and to last.
- Monitor closely. Some things are early-stage and not yet urgent. Note them down with a photo so you can compare at your next inspection.
If your checklist turns up more than a couple of items in that second bucket, it may be worth having a technician do a single visit to address everything at once rather than calling multiple times. If you are not sure whether something needs immediate attention, our frequently asked questions page covers many of the most common scenarios, or you can simply get in touch with us directly for a straight answer.
How often should you do this?
Twice a year is the practical minimum for most of the Suncoast. The schedule that works well for most homeowners looks like this:
- April or early May: Pre-storm season inspection. Fix anything before June's rains arrive and turn a small problem into a big one.
- October or November: Post-storm season inspection. Assess any damage from the summer, and make repairs while the weather is mild and scheduling is easier.
Homeowners on or near the water (Anna Maria Island, Longboat Key, Siesta Key, Lido Key, Osprey, Nokomis) may want to add a third quick walk-around in January, focusing specifically on the frame and fasteners, because the salt-air exposure at these locations is simply harder on materials than it is a few miles inland.
A final word on the value of consistency
A screen enclosure is not a set-it-and-forget-it investment. It is a living part of your home that interacts with rain, wind, sun, insects, and salt air every single day. The homeowners who get the longest life out of their enclosures are the ones who spend an hour twice a year looking at the thing carefully, not the ones who wait for a screen to fall out before picking up the phone.
Across our service areas from Bradenton to Sarasota and the surrounding communities, the most common thing we hear when we arrive for a repair is some version of "I noticed that a while ago but kept putting it off." Early action is almost always cheaper, faster, and less disruptive than deferred repairs.
If anything on your checklist gives you pause, our full range of screen and enclosure services is here to help you work through it efficiently and affordably.